Travel
Land Rover Defender Overlanding & Camping Setup Guide
There is something deeply satisfying about loading up a Defender and driving into the wilderness with everything you need to live comfortably for days or weeks on end. No hotels, no itineraries, no mobile phone signal. Just you, your Defender, and whatever landscape unfolds ahead of the bonnet.
The Land Rover Defender has been the overlanding vehicle of choice since before the word “overlanding” existed. When Wilfred Thesiger crossed the Empty Quarter, when Camel Trophy teams battled through Borneo’s jungles, when aid workers navigated African bush roads that would destroy any other vehicle, it was almost always a Defender (or its Series predecessor) that got them there.
And while the new Defender has brought this capability to a wider audience with added comfort and technology, the principles of building a solid overlanding setup remain the same whether you’re working with a 1994 300Tdi or a 2024 D300. This guide covers everything you need to know to turn your Defender into the ultimate self-sufficient adventure vehicle.
Choosing Your Base Vehicle
Classic Defender for Overlanding
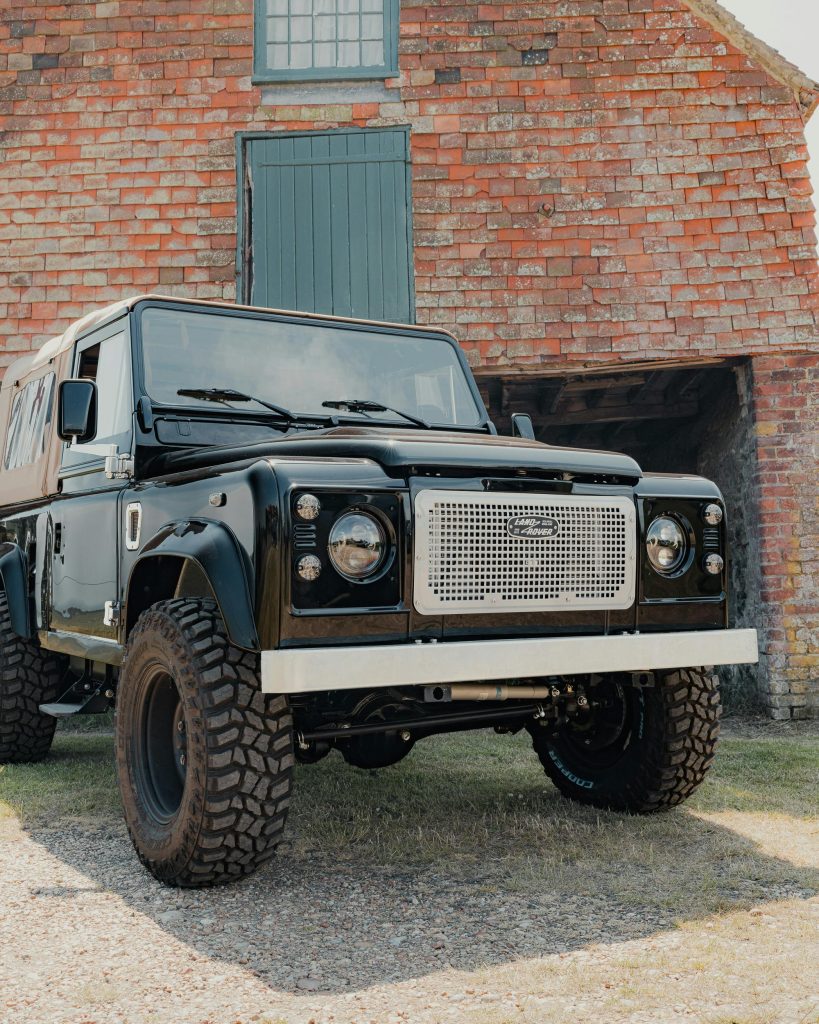
The 110 Station Wagon is the classic overlanding platform. It offers enough interior space for sleeping inside (at a push), a generous load area for gear, and the longer wheelbase provides better stability when loaded. The 90 vs 110 debate is particularly relevant for overlanding. The 90 is more agile off-road but significantly more limited in carrying capacity.
For engine choice, the 300Tdi and Td5 are the most popular for overlanding. The 300Tdi wins on simplicity and field-repairability because it doesn’t need electronics to run, so it’s the choice for truly remote expeditions. The Td5 offers more power and refinement for trips that involve significant road miles. The 2.2 Puma is excellent mechanically but the DPF can be problematic on extended low-speed off-road sections.
Before setting off on any serious overlanding trip, make sure your vehicle is mechanically sound. Our guide to common Defender problems will help you identify and address issues before they become trail-side emergencies.
New Defender for Overlanding
The new Defender 110 is becoming increasingly popular for overlanding, and for good reason. The D300 engine offers excellent torque and reasonable fuel economy, the ZF 8-speed automatic is smooth and reliable, and the Terrain Response system makes off-road driving accessible to less experienced drivers.
The main disadvantage of the new Defender for overlanding is complexity. When the electronics work, they’re brilliant. When they don’t, you’re largely dependent on finding a dealer or specialist with diagnostic equipment. For overlanding within reach of civilisation (Europe, North America, popular African routes), this is rarely a problem. For truly remote expeditions, the classic remains the safer choice.
Roof Tent vs Ground Tent vs Sleeping Inside
This is the first major decision in any overlanding setup, and it shapes everything that follows.
Roof Tents
A roof-mounted tent is the most popular choice for Defender overlanding, and for good reason. It gets you off the ground (away from wildlife, water, and cold earth), sets up in minutes, and leaves the vehicle’s interior free for storage. On a Defender 110, a roof tent typically sits on a full-length roof rack and overhangs the rear slightly.
The best roof tents for Defenders include the Front Runner Roof Top Tent (around £1,200-£1,800), which is a solid, no-nonsense hardshell that works well on Defenders. The Alu-Cab Expedition series (£2,500-£4,500) is premium but bombproof, popular with serious overlanders. The Tepui Kukenam (£1,000-£1,500) is a soft-shell option that’s lighter and more compact when folded. The James Baroud Evasion (£2,000-£3,000) is an excellent European option with quick setup.
Weight is a critical consideration. A roof tent adds 50-80kg to the roof, plus the weight of the roof rack itself (another 15-30kg). This raises the vehicle’s centre of gravity significantly, which affects handling, increases body roll, and makes the vehicle more prone to rolling on steep side slopes. If you’re doing serious off-roading with a roof tent, drive accordingly.
For classic Defenders, ensure your roof rack is properly secured. The standard gutters are the usual mounting point, but heavy loads require additional supports bolted through the roof skin into structural members below.
Ground Tents
A separate ground tent keeps weight off the roof, maintains the vehicle’s handling characteristics, and gives you more living space than any roof tent. The disadvantage is setup time, the need for flat ground, and exposure to ground-level hazards (water, insects, animals).
For Defender overlanding, a freestanding dome tent (3-4 person for comfort as a couple) works well. The MSR Hubba Hubba or Hilleberg Nallo are excellent lightweight options. Pair it with an awning off the side of the vehicle for a covered cooking and living area.
Sleeping Inside
On a classic 110 Station Wagon, you can sleep inside by folding the rear seats and using a sleeping platform that sits on top of the wheel arches. This is the simplest, cheapest, and most weather-proof option, but it’s also the least comfortable and means you can’t carry much gear alongside your sleeping setup.
Purpose-built sleeping platforms from companies like Overland Workshop or DIY solutions using marine plywood and piano hinges cost £200-£800 and create a flat sleeping surface at the level of the rear door sill, with storage space underneath.
Storage and Organisation
Poor organisation is the single biggest frustration in overlanding. You need to be able to access your cooking gear without unpacking your clothes, reach your recovery equipment without removing your food supplies, and find your torch at 2 AM without waking your partner.
Drawer Systems
A drawer system in the rear load area is the most effective way to organise an overlanding Defender. Front Runner’s Wolf Pack system (modular boxes that can be used individually or stacked) or a full drawer system from Goose Gear or Alu-Cab transforms the rear of a Defender from a chaotic mess into an organised, accessible storage solution.
A typical setup for a 110 includes a double drawer unit spanning the load area width, with a flat top surface that serves as a table or sleeping platform. Drawers should be on heavy-duty slides rated for the weight of your gear, and the entire system needs to be securely bolted to the vehicle’s floor or tie-down points.
Budget £800-£2,500 for a quality drawer system, depending on whether you buy off-the-shelf or have one fabricated. DIY options using plywood and drawer slides from Screwfix can be built for £200-£400 if you’re handy.
Storage Boxes
For gear that doesn’t fit in drawers (recovery equipment, spare parts, larger tools) sturdy storage boxes mounted to the roof rack or inside the vehicle are essential. Zarges aluminium cases (£80-£200 each) are the overlanding standard: waterproof, dustproof, stackable, and virtually indestructible. Front Runner Wolf Pack Pro boxes are a more affordable alternative.
Jerry Can Mounts
Extra fuel capacity is essential for remote overlanding. Standard NATO jerry cans (20 litres each) can be mounted on the rear door, on the roof rack, or on custom brackets on the rear of the vehicle. Two 20-litre cans add 40 litres to your range, which is approximately 150-200 additional miles in a diesel Defender. Make sure your mounts are sturdy, because a full jerry can weighs about 20kg and must be secured to prevent movement on rough terrain.
Water Systems
Basic Setup
At minimum, carry two 20-litre water containers. Scepter military-style water cans are robust and stackable. This gives you 40 litres, which is enough for two people for 3-4 days with careful use (drinking, cooking, basic washing).
Upgraded Setup
For longer trips, a fixed water tank (40-80 litres) mounted under the vehicle or inside the load area, connected to a 12V pump and a simple tap, gives you running water at the turn of a handle. Companies like Expedition Equipment and National Luna make purpose-built systems for Defenders.
A basic inline water filter (like the Doulton or MSR Guardian) ensures safe drinking water from natural sources, which dramatically extends your range in areas with rivers and streams.
Shower
A solar shower bag (£10-£20) hung from the roof rack is the simplest option. A pressurised portable shower system like the RinseKit (£80-£120) gives better water pressure. For a permanent setup, a small 12V water heater (like the Geyser Systems unit, around £200) provides hot water on demand.
Cooking Setup
The Basics
A dual-burner gas stove (like the Primus Tupike or Campingaz Camping Kitchen) is the standard overlanding cooking setup. Mount it on a slide-out table from the rear of the vehicle, or use a freestanding table under your awning. Gas canisters are available worldwide and a standard canister lasts 3-5 days of regular cooking.
The Upgraded Kitchen
A purpose-built slide-out kitchen that mounts in the rear of the Defender is the overlanding luxury option. These typically include a gas stove, a prep surface, storage for utensils and spices, and sometimes a small sink connected to your water system. Front Runner’s Slide Out Kitchen costs around £600-£800, or you can build a custom solution for £200-£400.
The Essential Kit
Beyond the stove, you need a good quality cast iron pan (Lodge is the standard), a medium saucepan, a kettle, plates and bowls (enamelware is traditional and practical), cutlery, a sharp knife, a chopping board, a washing-up bowl, and biodegradable soap. Keep it simple. The more kit you carry, the more time you spend packing and unpacking rather than exploring.
Power and Electrical
Dual Battery System
A second battery (or auxiliary battery) is essential for overlanding. Your main battery starts the engine; your auxiliary battery powers your fridge, lights, phone charging, and other 12V accessories. The two batteries are connected through a split-charge relay or a DC-DC charger that charges the auxiliary battery from the alternator while driving, but prevents your accessories from draining the starting battery overnight.
A 100Ah AGM or lithium auxiliary battery is sufficient for most setups. AGM batteries cost £150-£300; lithium batteries cost £400-£800 but are lighter and provide more usable capacity. Installation typically costs £200-£400 if done by a specialist.
Solar
A roof-mounted solar panel (100-200W) keeps your auxiliary battery topped up during extended stops. Flexible panels can be bonded directly to the roof rack, while rigid panels offer better efficiency but add height and weight. A basic solar setup (panel, controller, wiring) costs £200-£500.
Fridge
A 12V compressor fridge is arguably the single best upgrade you can make for overlanding comfort. Cold drinks, fresh food, and the ability to carry meat and dairy products for days without them spoiling transforms the overlanding experience. The Dometic CFX or Engel MT range are the most popular choices. A 40-50 litre fridge costs £400-£800 and draws 2-5 amps depending on ambient temperature.
Lighting
LED strip lighting inside the vehicle and under the awning provides comfortable ambient lighting without excessive power draw. A couple of rechargeable LED lanterns (Goal Zero Lighthouse is excellent) handle the rest.
Recovery Equipment
No overlanding setup is complete without the ability to self-recover when you get stuck. And in a Defender, you will get stuck. It’s not a question of if, but when.
Essential Recovery Kit
You need a kinetic recovery rope (not a tow strap; a kinetic rope stretches and uses stored energy to snatch the vehicle free). An 8-tonne rated kinetic rope from ARB or Factor 55 costs £80-£150. You need rated shackles (minimum 4.75 tonne, two of them) to connect the rope to recovery points. You need a high-lift jack (the ARB Jack is the most popular), which serves as a jack, a winch, and a clamp. You need a shovel (a folding shovel for basic digging, or a full-size spade if space allows). You need MaxTrax or similar traction boards, which go under the tyres when you’re stuck in mud, sand, or snow, and they work brilliantly. Budget £100-£200 for a pair.
Winch
A front-mounted winch is the ultimate self-recovery tool. For a Defender, an 8,000-12,000lb rated electric winch (Warn, Superwinch, or Comeup) mounted on a purpose-built bumper is the standard setup. Budget £800-£2,000 for the winch and £300-£600 for the bumper. Don’t forget a winch extension strap, a tree protector, a snatch block, and heavy-duty gloves. Winching without the right accessories is dangerous.
For more on preparing your Defender for off-road work, see our off-road capability guide and best modifications article.
Navigation
GPS
A dedicated GPS unit (Garmin Overlander or Montana series) is more reliable than a phone for navigation in remote areas. Load it with topographic maps and track logs before departure. A RAM mount on the dashboard keeps it visible and accessible.
Paper Maps
Yes, really. Paper maps don’t need batteries, don’t crash, and give you a strategic overview that no GPS screen can match. Carry paper maps of your entire route as backup.
Communication
A satellite communicator (Garmin inReach Mini 2, around £300-£350 plus subscription) provides two-way messaging and SOS capability anywhere in the world. For truly remote overlanding, this is not optional. It’s essential safety equipment.
Awning
A side-mounted awning creates an instant sheltered living area alongside the vehicle. The 270-degree wrap-around awnings (from Alu-Cab, Darche, or Destination4WD) are the most popular, creating a covered area on three sides of the vehicle. Simpler pull-out awnings from Front Runner or ARB cover just one side but are lighter, cheaper, and faster to deploy.
Budget £300-£800 for a quality awning. Add walls or mosquito nets (£100-£300) for enclosed living space in bad weather or bug-heavy environments.
Budget Breakdown: What Does a Full Overlanding Setup Cost?
Budget Build (£2,000-£4,000)
Ground tent, basic storage boxes, dual-burner stove, two water containers, basic recovery kit, dual battery setup, simple awning. This gets you on the road and is perfectly adequate for weekend and week-long trips.
Mid-Range Build (£5,000-£10,000)
Roof tent, drawer system, slide-out kitchen, 12V fridge, solar panel, proper recovery kit with MaxTrax, side awning, water tank with pump. This is the sweet spot for regular overlanders who want comfort without excessive complexity.
Premium Build (£12,000-£25,000)
Hardshell roof tent, full Alu-Cab drawer and kitchen system, dual battery with lithium, 200W solar, fridge-freezer, winch, satellite communication, 270-degree awning, hot water shower, comprehensive recovery equipment. This is a fully self-sufficient expedition vehicle capable of weeks of independent travel.
Planning Your First Overlanding Trip
Don’t try to do everything at once. Start with a weekend trip close to home, with your basic kit, and learn what works and what doesn’t. You’ll discover that you packed too much food, forgot something important, and that your storage layout doesn’t work as well as you imagined. That’s normal. Overlanding setups evolve over many trips.
For your first trip, pick a route with easy off-road tracks (green lanes in the UK, or established overlanding routes in your country), camp somewhere you know is legal and safe, and focus on learning your kit rather than covering miles.
As you gain experience, you’ll naturally refine your setup, swap out gear that doesn’t work, and develop the skills and confidence to tackle longer, more remote adventures.
Essential Tips from Experience
Keep a daily checklist: oil level, coolant level, tyre pressures, wheel nut tightness, load security. Five minutes of checks every morning prevents hours of problems later.
Carry a basic tool kit and know how to use it. At minimum, you need a socket set, spanners, screwdrivers, pliers, a tow rope, jump leads, spare fuses, cable ties, gaffer tape, and spare fluids (oil, coolant, brake fluid). For the classic Defender, add a spare alternator belt, a spare fuel filter, and a spare set of brake pads.
Learn basic vehicle recovery techniques before you need them. Knowing how to use your kinetic rope, MaxTrax, and high-lift jack safely is essential, as these tools can be dangerous in inexperienced hands.
Respect the environment. Pack out everything you bring in. Use biodegradable products. Camp on established sites where possible. The overlanding community’s reputation depends on every individual acting responsibly.
And finally, enjoy it. The point of overlanding isn’t to have the most Instagram-worthy setup or the most expensive gear. It’s to connect with landscape, with solitude, with the simple satisfaction of being self-sufficient in a vehicle you trust. Your Defender doesn’t need to be perfect. It just needs to get you there and back, and with the right preparation, it will.